Showing posts with label girls clothes. Show all posts

Friday, October 4, 2013

The Ultimate Cinderella Costume


Flashback to last Halloween: Sophie as Cinderella 

I mentioned in a previous post that the Sullivan's Island Dress was my masterpiece but I think I'm going to have to reconsider that comment. THIS dress takes the cake. 


I'm not going to lie....making this almost drove me over a cliff. It could not have possibly turned out more beautiful but the process of making it was extremely stressful.  

It was a joint project between me and my dear, sweet mother-in-law Marie, with me taking the lead and Marie (who is a master seamstress) coming to bail me out whenever I hit a roadblock. Which was often. 

There were tears shed. And yes, as much as I hate to admit it, there were probably a couple bad words said. It was hard to make. HARD. I didn't think I would ever see the end of it. 

But finally, after days of hard work, we ended up with this.


Yes, I know she's wearing tennis shoes instead of glass slippers. Try to reason with a 2 year old!

We used the Butterick B4320 pattern for our basis but just winged a couple parts of it that we wanted to modify, including making some adjustments to the size to fit a 2T, attaching the crinoline to the dress, and making the hem long enough to be let out as she grows.

And speaking of hem, can you see a hem line? No stitches visible! The hem is sewn to the  crinoline rather than the dress itself.

The side "flaps" (what do you call those things anyway?) proved to be the hardest part. 


The directions included with the dress pattern made absolutely no sense. My mother-in-law couldn't even figure it out and she's an expert at reading patterns. 

Thankfully I found Ashley's Cinderella Dress tutorial at Make it and Love it which has great instructions for making those side flaps. I also used the Make It and Love It's headband tutorial. I wish she'd let me put her hair up in a bun like Cinderella but no such luck.
We were in a race against time to finish it before leaving on our trip to Disney World in mid-October last year. (Oh...how I wish we could go back this year!) We literally were scrambling to finish it the night before we left. 

But every bit of the drama was worth it when I saw Sophie wearing it when she met Cinderella and Prince Charming. I had to fight back tears. Seeing my little princess in her pretty dress standing next to Cinderella made every bit of the hard work worth it. This picture is worth 10,000 words!


When we finally got to the front of the line, Cinderella walked up and took Sophie's hand. Of course she told Sophie how pretty the dress was. (We also got numerous complements from other people at Disney.)

We were very lucky that evening to meet Prince Charming as well. I hear he doesn't make appearances very often. He even danced with her! 

Yeah, I really should've brought some Kleenex with me that night! Talk about being choked up.

Rapunzel, Snow White and their princes were also meeting and greeting that night and they oooh and ahhh'd over her dress too.

The guy playing Snow White's prince was the same guy who played Ariel's Prince Eric when we were in Disney World in May 2012 and he actually remembered Sophie. She must've made a lasting impression when she wrapped her arms around Ariel and wouldn't let go. Seriously, I thought we were going to have to get a crow bar! Here's a picture from that day. 

Anyway, the Cinderella dress was a major hit. Gorgeous in every way and totally worth all the endless hours I spent slaving over the sewing machine. 

Now it's time to work on our costumes for this year. For mine I've bought shiny black fabric, purple sequined fabric, wire, a gray wig, and suction cups. Can anyone guess what I'll be???


Linking to these parties.


Monday, September 9, 2013

Big Sister-Little Sister Dresses


This was the first dress I made for Audrey before she was born. I used the free 0-3 month Peasant Dress pattern and tutorial available at Sew Much Ado.


I loved the way it turned out so much (plus it was soooo quick and easy to sew!) that I bought the full PDF pattern which includes sizes from 0-3 months though 6 years so I could make one for Sophie too. The pattern has options as well for a scalloped bottom and for making it as a blouse vs. dress.  I have a feeling this is a pattern I will use over and over again. 

I just took pictures of the girls wearing their matching dresses last week. Look at these little sweeties!


I always swore that I would never dress them alike, but after finding such a cute pattern for Audrey I thought it was only fair that Sophie have one too! And I was in love with the fabric way too much to make hers with anything different. 

The fabric I used is Ice Cream Social in Pink from the Riley Blake Go Fly a Kite line by October Afternoon. I bought this fabric quite awhile ago and have been saving it for something special. Unfortunately it is sold out pretty much everywhere now. Sniff! I want more of it!


The dress has coral colored ric-rac peeking out from the hem. Love!

 
And of course I had to make matching bloomers for Audrey using The Perfect Diaper Cover by Made. I've used that pattern many, many times because all little girl's dresses should have matching bloomers, right?


I can't get enough of Audrey's little open-mouthed look in the picture on the right. This is her signature expression for the moment.


And Sophie looked pretty as a princess, as always.   


Go out and get yourself on one these patterns ASAP! 


Linking to these parties!

Sunday, August 11, 2013

Sullivan's Island Dress


There hasn't been much sewing or crafting going on around here lately with a newborn in the house. So I thought I would share one of my favorite past projects with you. 

This is my masterpiece! It's the very first dress I ever made for Sophie and by far my favorite. I made this in spring 2012 for her 2 year old portraits. That right, spring 2012. I have not been sewing that long! 

My wonderful mother in law had been teaching me how to sew and this was my first attempt at sewing something myself. Or "all by my own self" as Sophie would say! With this being my first major project, it took awhile to complete but I can't be happier this how it turned out. Sophie looked beautiful wearing it. 


The pattern we used was New Look 6718, option B. Included was a pattern for matching bloomers.


The fabric came from my mothers in law's stash. The blue is the most gorgeous shade of bright turquoise and has a pleated look. I trimmed the dress in brown polka dot fabric with pink ric rac accent.


I really have a great mother in law. My own mother passed away when I was very young and I feel so lucky to now have this lovely lady to call mom. Thanks to her patience and great teaching skills I have learned to sew and it has become one of my favorite things to do in my free time. 


Linking to these parties!

Friday, July 12, 2013

Curly Sue Dress


There hasn't been much crafting going on around here with a newborn in the house so I thought I would share one of my favorite past projects with you. 

You gotta love making something pretty out of something ordinary. This beautiful dress was made from one of my husband's old undershirts using the Curly Sue Dress tutorial at Delila Creates. 

The bottom of each layer is trimmed in red thread using a lettuce hem. I LOVE the contrast between the red and white. This could look pretty in so many colors though. The possibilities are endless. 


Instead of stitching on the exposed edge, I turned the edge under just a tiny bit (like 1/8") and trimmed on the folded part which looked a lot cleaner in my opinion. The fold is so tiny that the thread completely hides it. 


I monogrammed Sophie's initials on the front piece using Curlz font.  


To top it off I made a Pinwheel Bow using a tutorial from Hair Hardware. 


I have collected several more of his shirts in my stash for future refashion projects! 


Linking to these parties!

Wednesday, June 19, 2013

Audrey's Going Home Dress


Things have been super busy around here since Audrey's arrival. I definitely don't have much free time to spend on the blog but I wanted to make a quick post to show you the sweet little dress I made for my baby girl to come home in! 

I love the piping, trim and bow details!


I used Itty Bitty Baby Dress pattern from Made by Rae. One thing I noticed about the pattern is that one side of the bodice is slightly larger than the other. So rather than printing both sides and taping together as the instructions indicate, I simply used one side of the pattern and cut it on the fold so that both sides are identical.It was an easy pattern to make and you could easily sew up a couple of these in an afternoon.  

It was a little big on her but at least we'll get more wear out of it over the summer!


Thursday, April 18, 2013

The Garden Party Dress


Today I am debuting Sophie's birthday party dress, affectionately known as The Garden Party Dress in honor of her party theme. (Yes we are having a Garden Party!)


I used Pretty Prudent's One Shoulder Dress tutorial. They provide a free 2T pattern, which was the size I was trying to make, but I found that it was too big for my little sweet pea! Sophie is very petite for her age at only 23 lbs. so I had to trim about 2" off either side seam and take the elastic in at the top by several inches.

The top shoulder seam which measured 3" in the pattern had to be shorted to about 1 1/2". 3" stuck out beyond Sophie's shoulder and the ruffle wouldn't lay down flat. The trick with the ruffle is that the shoulder seam has to be shorter than the width of the ruffle in order for it lay down. Once these adjustments were made, it fit perfectly!

Also, I added rick rack trim at the bottom which I think really makes the dress POP! All you have to do is pin the rick rack at the very edge of your hem to the right side of the fabric. 


Sew in place. 


Then flip the rick rack to the underside of the dress so that only half of the rick rack is visible from the front. 


 Top stitch down using a 3mm stitch. 


This is how it looks when you're done:


You just need an extra 1/4" on your hem length to account for the tiny part of the fabric that gets folded under. 

I really like the style of this dress. You don't see many one-shouldered dresses for toddlers so it's very unique. I found the fabric at Walmart in one of those little pre-cut stash starter packs.


Sophie will be wearing this at her 3rd birthday party on Saturday so check back soon for some pictures!

UPDATE 4/22/13: See Sophie wearing the dress and check out the party details on this post.


Linking to these parties!

Monday, March 25, 2013

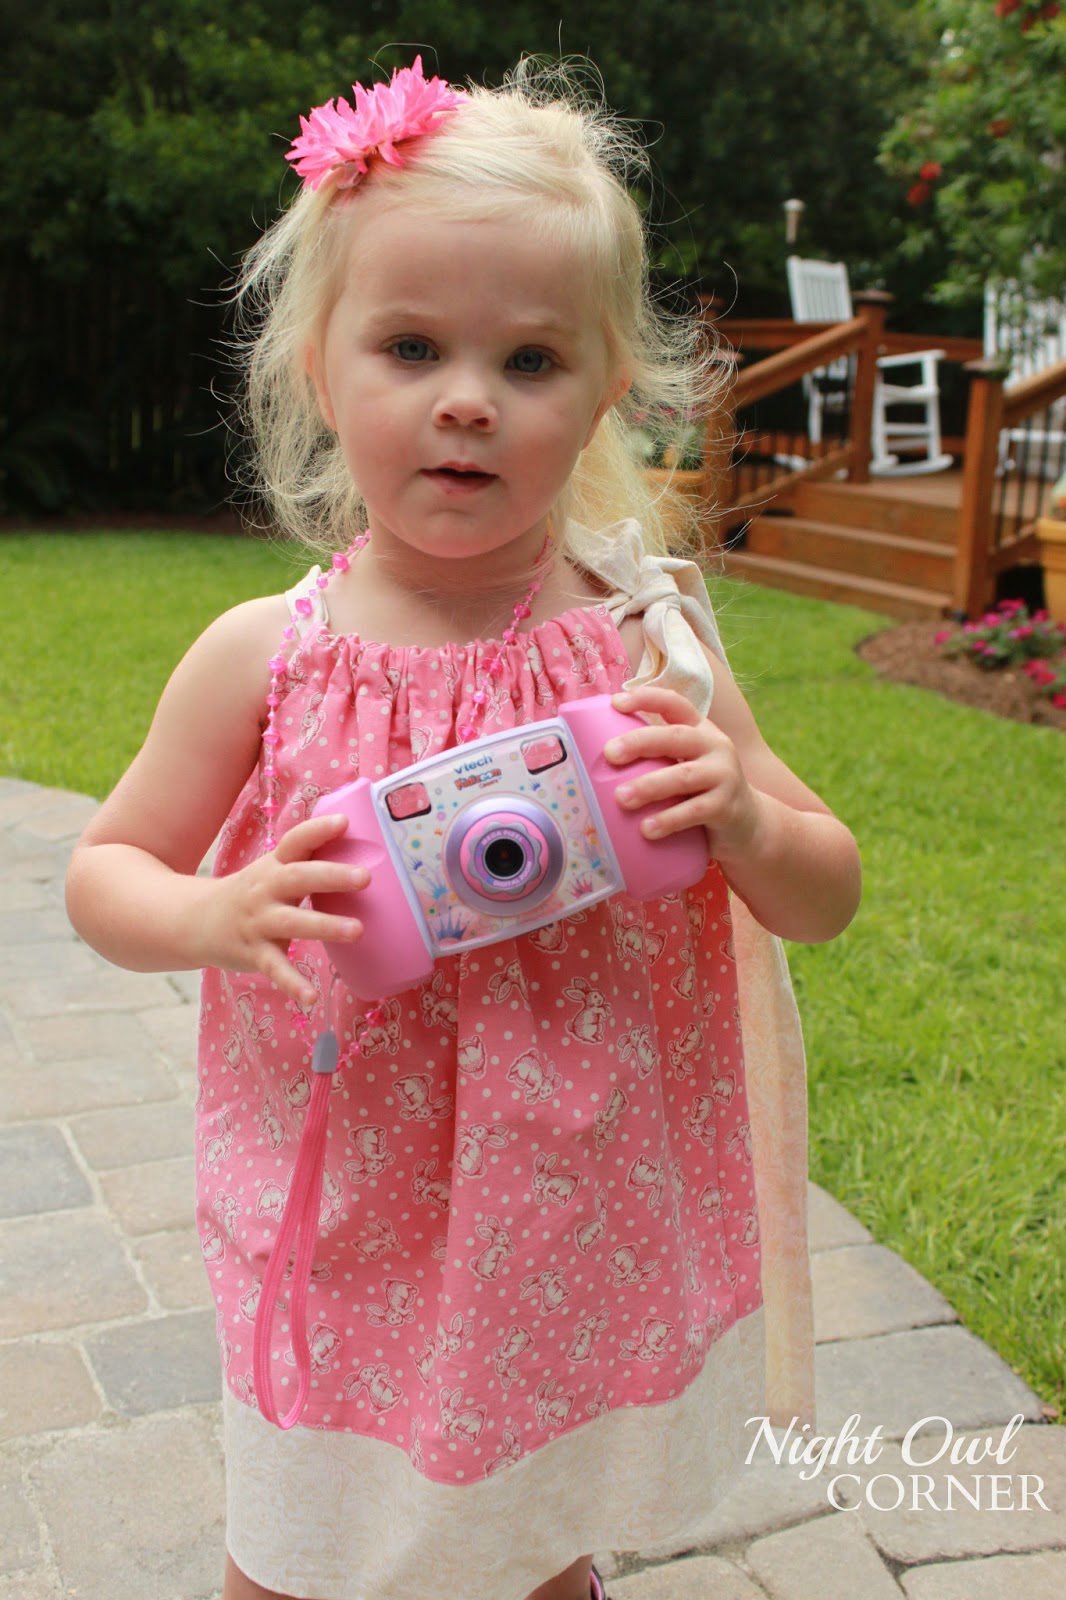
Bunny Dress


My mother in law teaches costume design at a local arts school and occasionally people will donate fabrics which are not suitable for costume making. That's how I got my hands on this adorable vintage bunny fabric. 


As soon as I spotted it I knew it would make a cute casual Easter dress for Sophie. I found the ivory colored fabric at Walmart. 

I used the pillowcase dress tutorial from The Ribbon Retreat, with a couple modifications. I doubled up on the bottom border so that it required no hem, and I made the top sash from fabric rather than using ribbon.  It was a SUPER easy project that I easily finished in about an hour. 


I really wish I had some pictures to share of Sophie in the dress, but the weather has been unseasonable cold and rainy. I'll add some as soon as it warms up! 

Hope you're having a great weekend!

UPDATE :
Finally adding some pictures of Sophie in the dress...taken WAY after Easter! But it still works as a cute summer dress, although she insisted in wearing her black shoes instead of white sandals. She just recently learned how to pedal her bike and is SO proud of herself!


 And she has inherited her Mama's love of taking pictures!


Except it's a little hard to do with the camera turned the wrong way!


 Now you have it!


So pleased with herself! 


Linking to these parties!